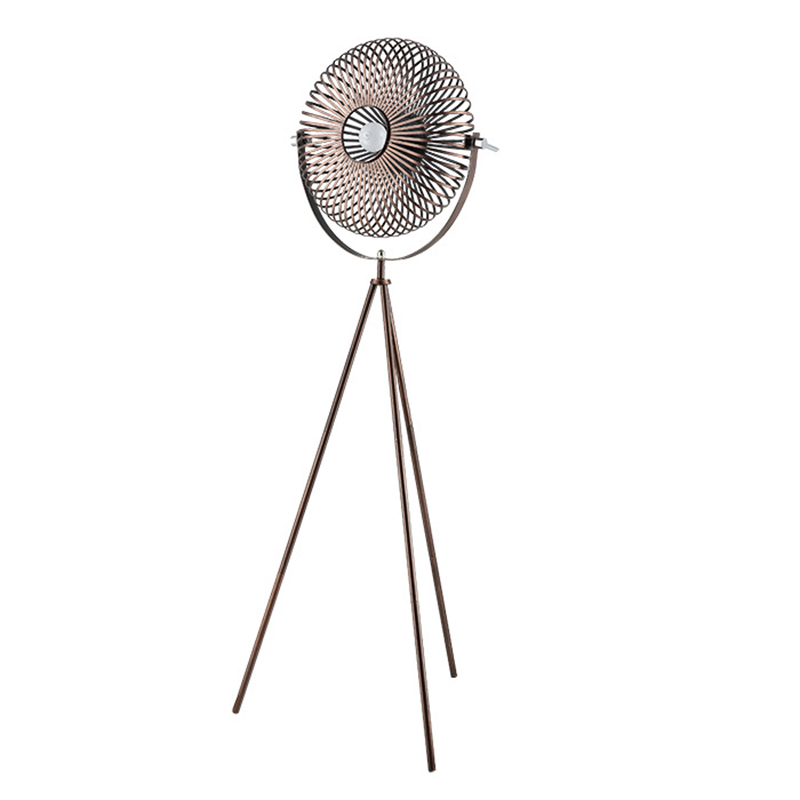
Begin by cutting the wooden dowels to your desired length for the tripod legs. The length will depend on how tall you want your floor lamp to be. Make sure the ends of the dowels are cut evenly.
Use sandpaper to smooth out any rough edges on the dowels and ensure a clean finish.
Arrange the wooden dowels in a tripod formation, with the ends meeting at the top. Apply wood glue to the ends of the dowels where they meet and secure them together. You can also reinforce the joints with screws for added stability.
Let the wood glue dry completely according to the manufacturer's instructions before moving on to the next step.
Drill a hole in the center of the tripod base large enough to fit the lamp socket. Feed the lamp cord through the hole and attach the socket to the base using screws. Make sure the socket is securely fastened.
Follow the instructions provided with the lamp socket to wire it correctly. This typically involves connecting the wires from the socket to the wires in the lamp cord. If you're not comfortable with electrical work, you may want to seek assistance from someone with experience.
Once the lamp socket is wired, plug in the lamp cord and test the lamp to make sure it's working properly. If necessary, use electrical tape to secure any exposed wires and ensure safety.
Finally, attach the lampshade to the lamp socket according to the instructions provided with the shade. This may involve using a harp or other attachment mechanism.
If desired, you can paint or stain the wooden tripod base to match your decor or add a decorative touch to the lamp.
Once your tripod floor lamp is assembled and finished, you can place it in your desired location and enjoy the warm glow it provides to your space. Remember to always exercise caution when working with electrical components and wiring to ensure safety.
